Running a Celestia light node is quickly becoming the preferred entry point for blockchain enthusiasts and developers seeking to participate directly in the data availability (DA) layer. Unlike traditional full nodes, light nodes are engineered for efficiency, requiring minimal hardware while still playing a crucial role in Celestia's modular architecture. By performing data availability sampling (DAS), these nodes validate that block data is accessible to the network without needing to download and store every byte. This not only democratizes DA participation but also underpins the scalability of the broader modular blockchain ecosystem.
Why Set Up a Celestia Light Node?
The growing adoption of Celestia’s DA layer by rollups and Layer 2 networks is fundamentally changing how blockchains scale. As Ethereum Layer 2s and emerging modular chains look for ways to reduce transaction costs and increase throughput, Celestia’s approach to offloading data availability becomes increasingly attractive. Running your own light node means you’re not just a passive observer - you’re actively contributing to network decentralization, security, and censorship resistance.
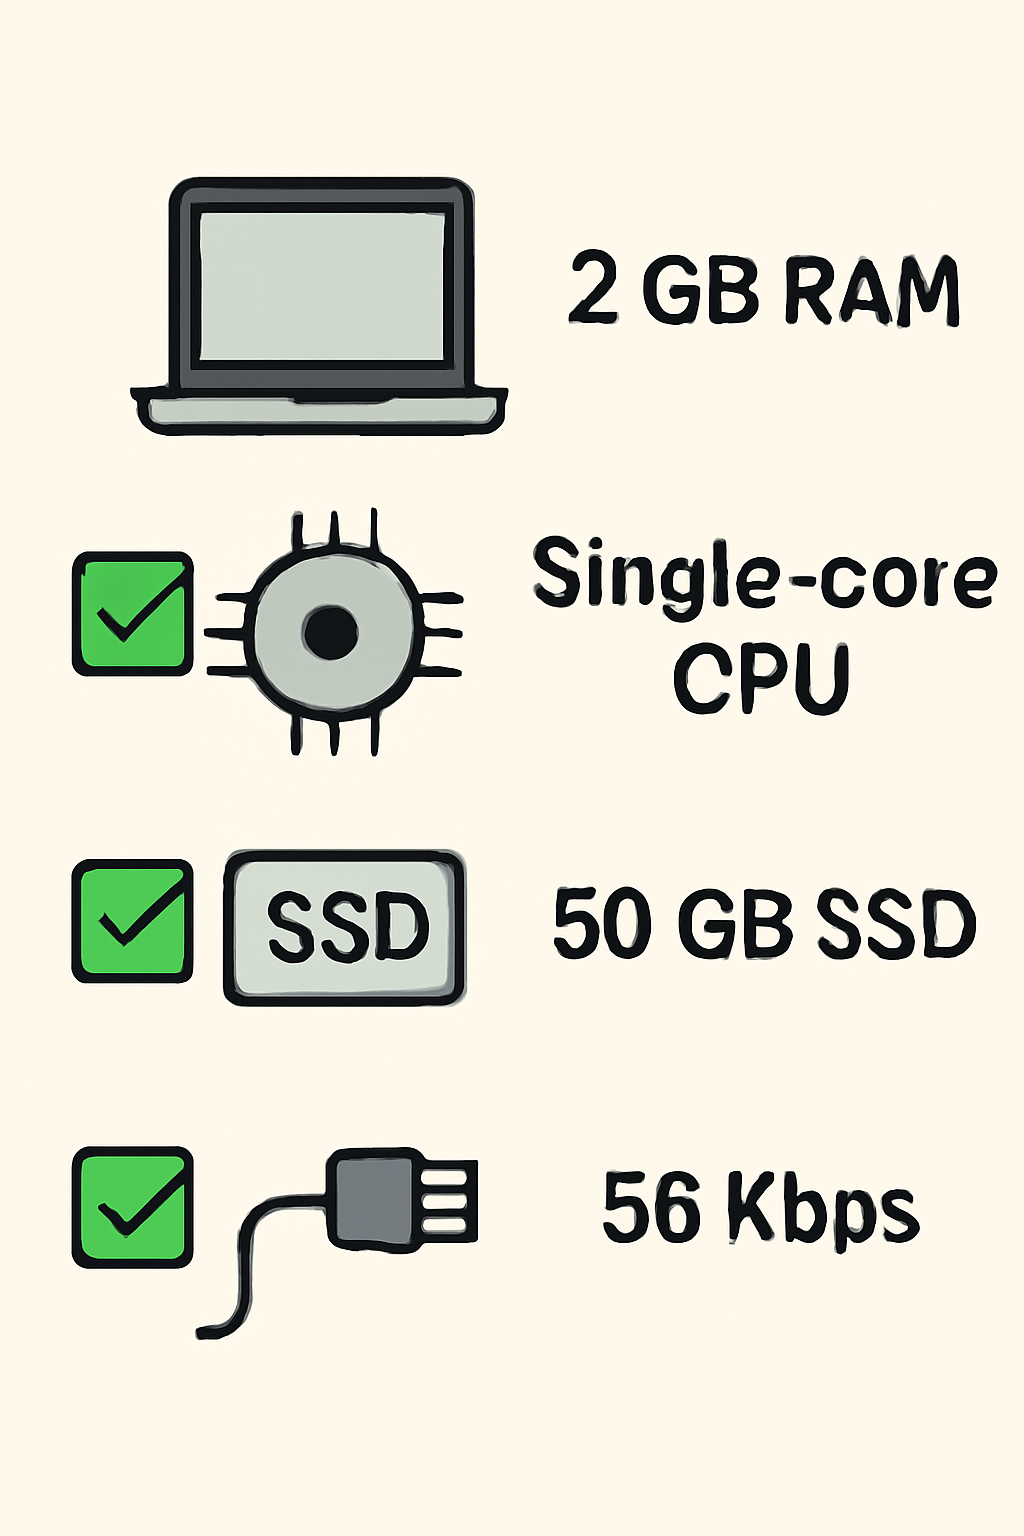
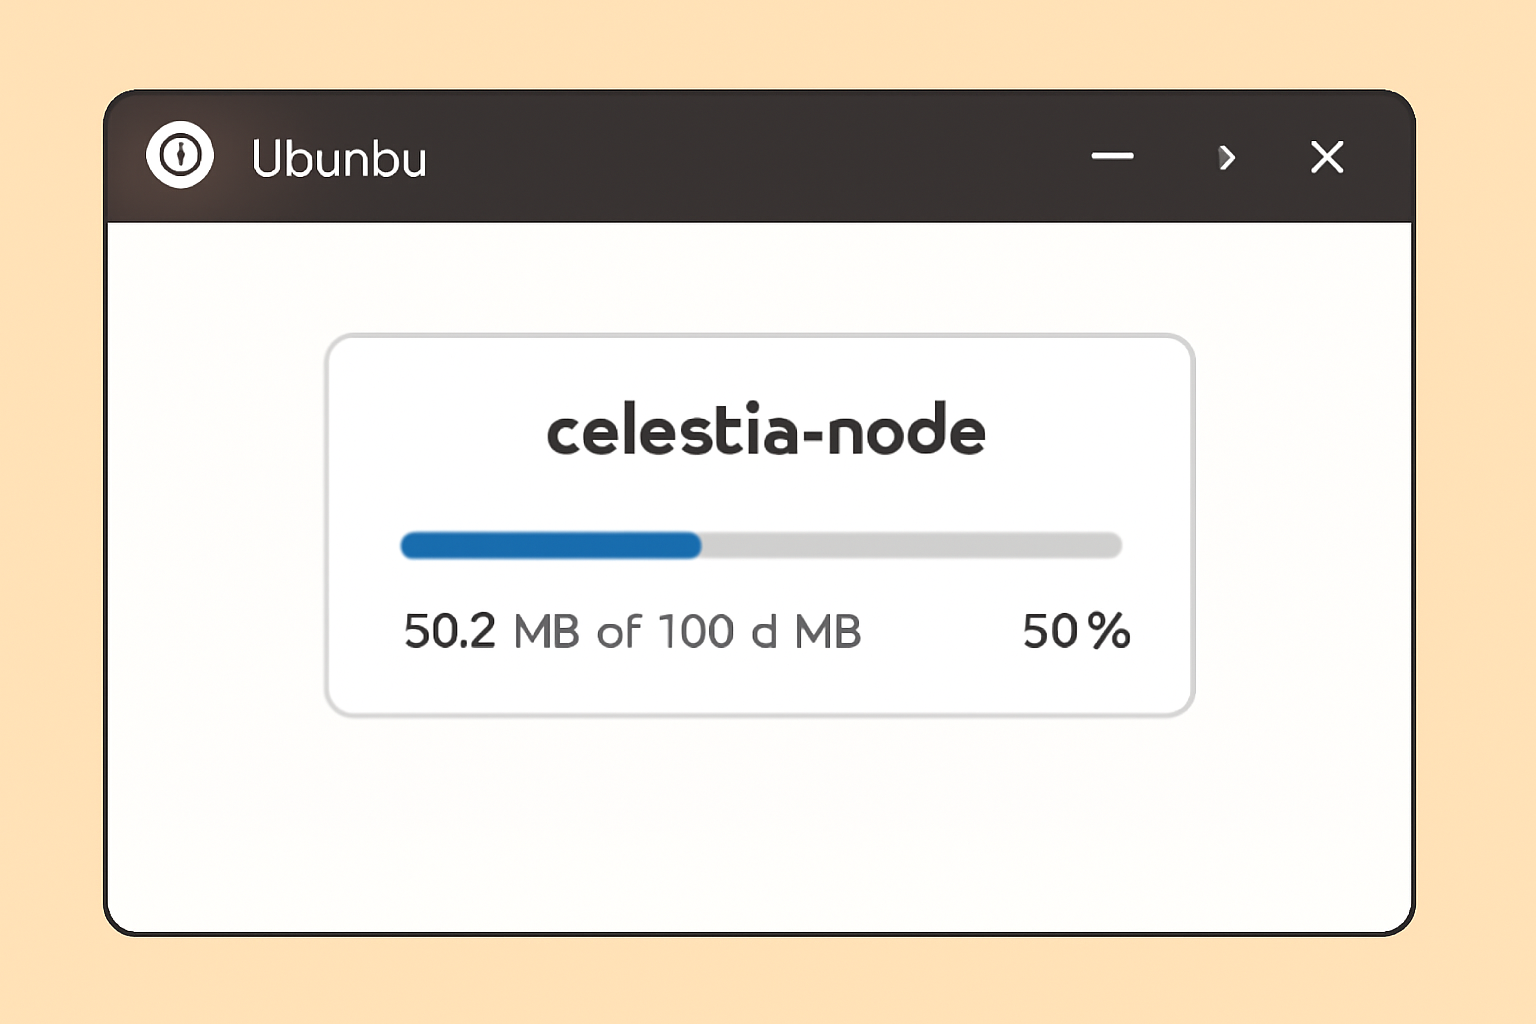
Moreover, light nodes are designed for accessibility. With requirements as low as 2 GB RAM, a single CPU core, 50 GB SSD storage, and modest bandwidth (56 Kbps up/down), almost any modern device can support one. This opens up DA participation to a wide audience - from independent stakers and hobbyists to professional restakers optimizing infrastructure for yield and resilience.
Step-by-Step Guide: Setting Up Your Light Node
The process of launching your own Celestia light node can be distilled into several clear stages:
How to Set Up a Celestia Light Node on Ubuntu 20.04


You’ll start by installing necessary dependencies on your system, followed by obtaining the celestia-node binary either via source or pre-built release. Once installed, initializing your node for your chosen network (such as Mocha testnet) is straightforward with:
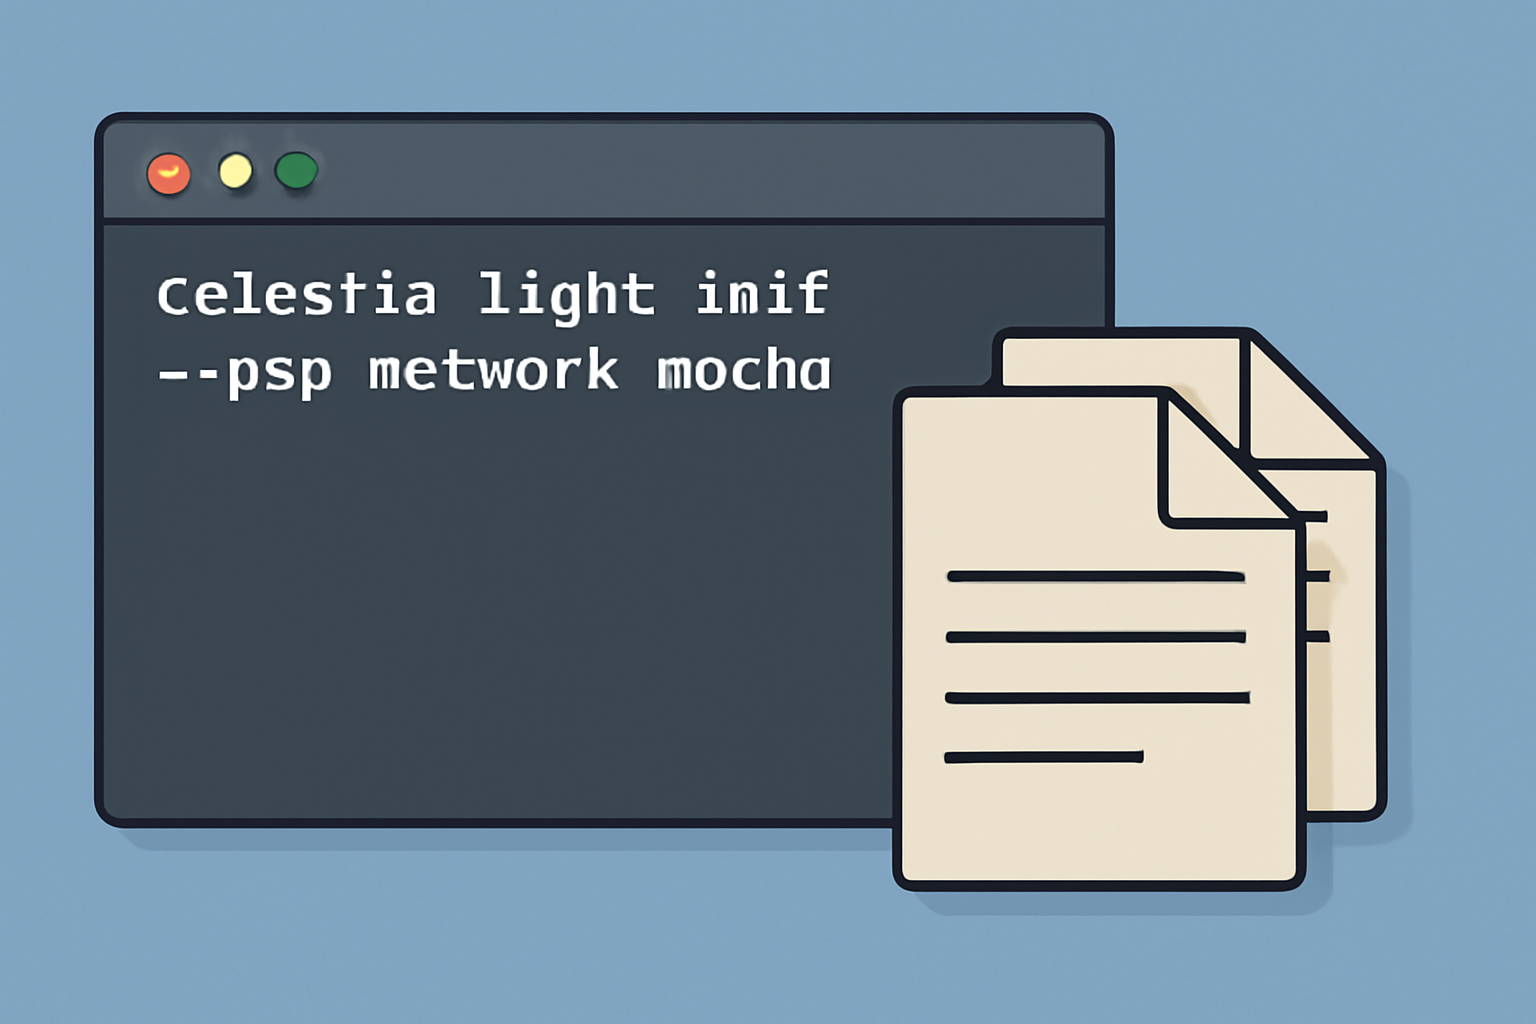
Initialize the Celestia Light Node for Mocha Network
To initialize your Celestia light node and connect it to the Mocha testnet, execute the following command in your terminal:
celestia light init --p2p.network mochaThis command sets up the necessary configuration files for your light node and ensures it is ready to join the Mocha network. Make sure you have the Celestia light node binary installed before running this command.
This command structures all required configuration files and directories. Next, you’ll connect your node to the network using a validator’s gRPC endpoint:
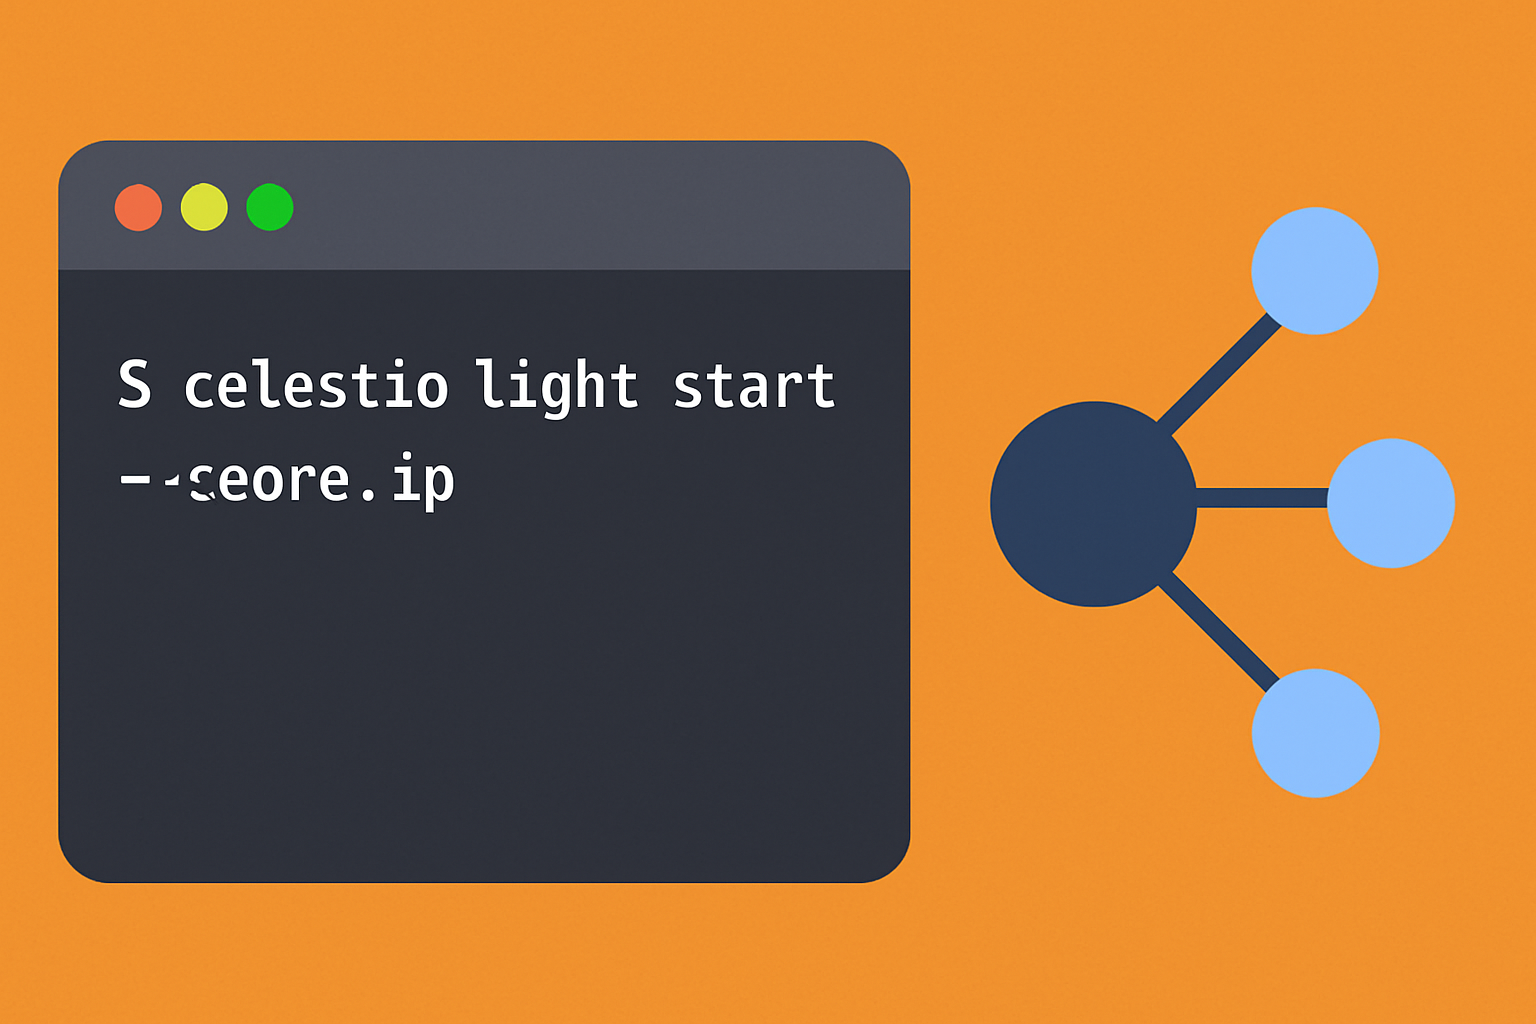
Starting the Celestia Light Node
To start your Celestia light node and connect it to the validator node, use the following command. Replace `
celestia light start --core.ip --p2p.network mocha This command initializes the Celestia light node, connects it to the specified validator node, and joins the 'mocha' testnet network. Ensure your network configuration allows connections to the validator node's IP.
(Replace and lt;validator-node-ip and gt; with an actual validator IP address. )
Celestia's official documentation provides thorough guidance on each step if you need further detail.
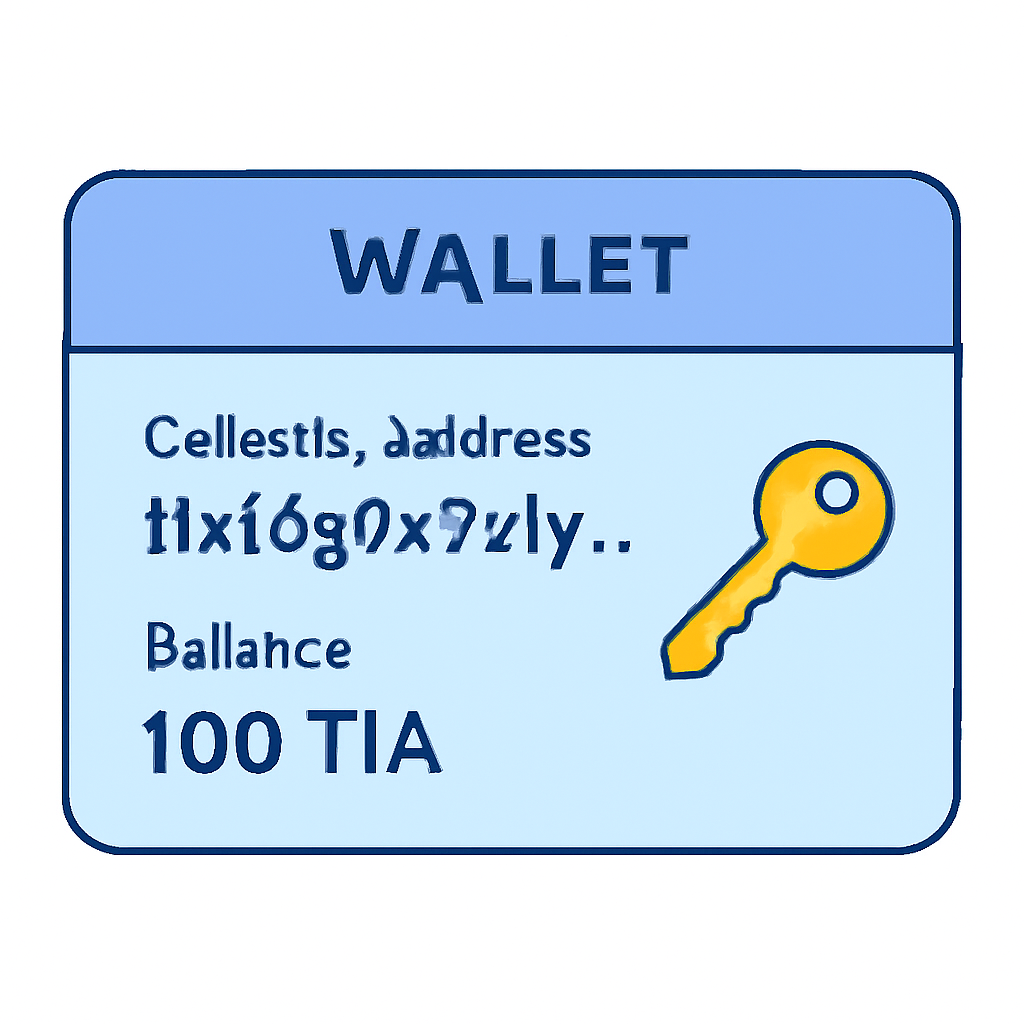
Navigating Key Management and Network Configuration
Your node’s security begins with robust key management. On first launch, a wallet key is generated automatically - but advanced users may prefer importing custom keys for operational continuity or integration with external wallets. The process involves placing your key file in the correct directory (~/. celestia-light-mocha/keys/keyring-test) before starting your node with the appropriate flags:
Starting the Celestia Light Node
To start your Celestia light node and connect it to the Mocha testnet, use the following command. Replace `
celestia light start --core.ip --keyring.keyname --p2p.network mocha This command initializes the light node, connects it to the specified validator node, uses your custom key for signing, and ensures it joins the Mocha network for data availability participation.
This flexibility supports both individual experimentation and professional-grade deployments where key management policies are essential.
P2P connectivity requires opening port 2121 TCP/UDP. Proper firewall configuration ensures seamless communication with peers across the global Celestia network. For more granular details on ports or troubleshooting connectivity issues, consult the Celestia troubleshooting guide.


No comments yet. Be the first to share your thoughts!